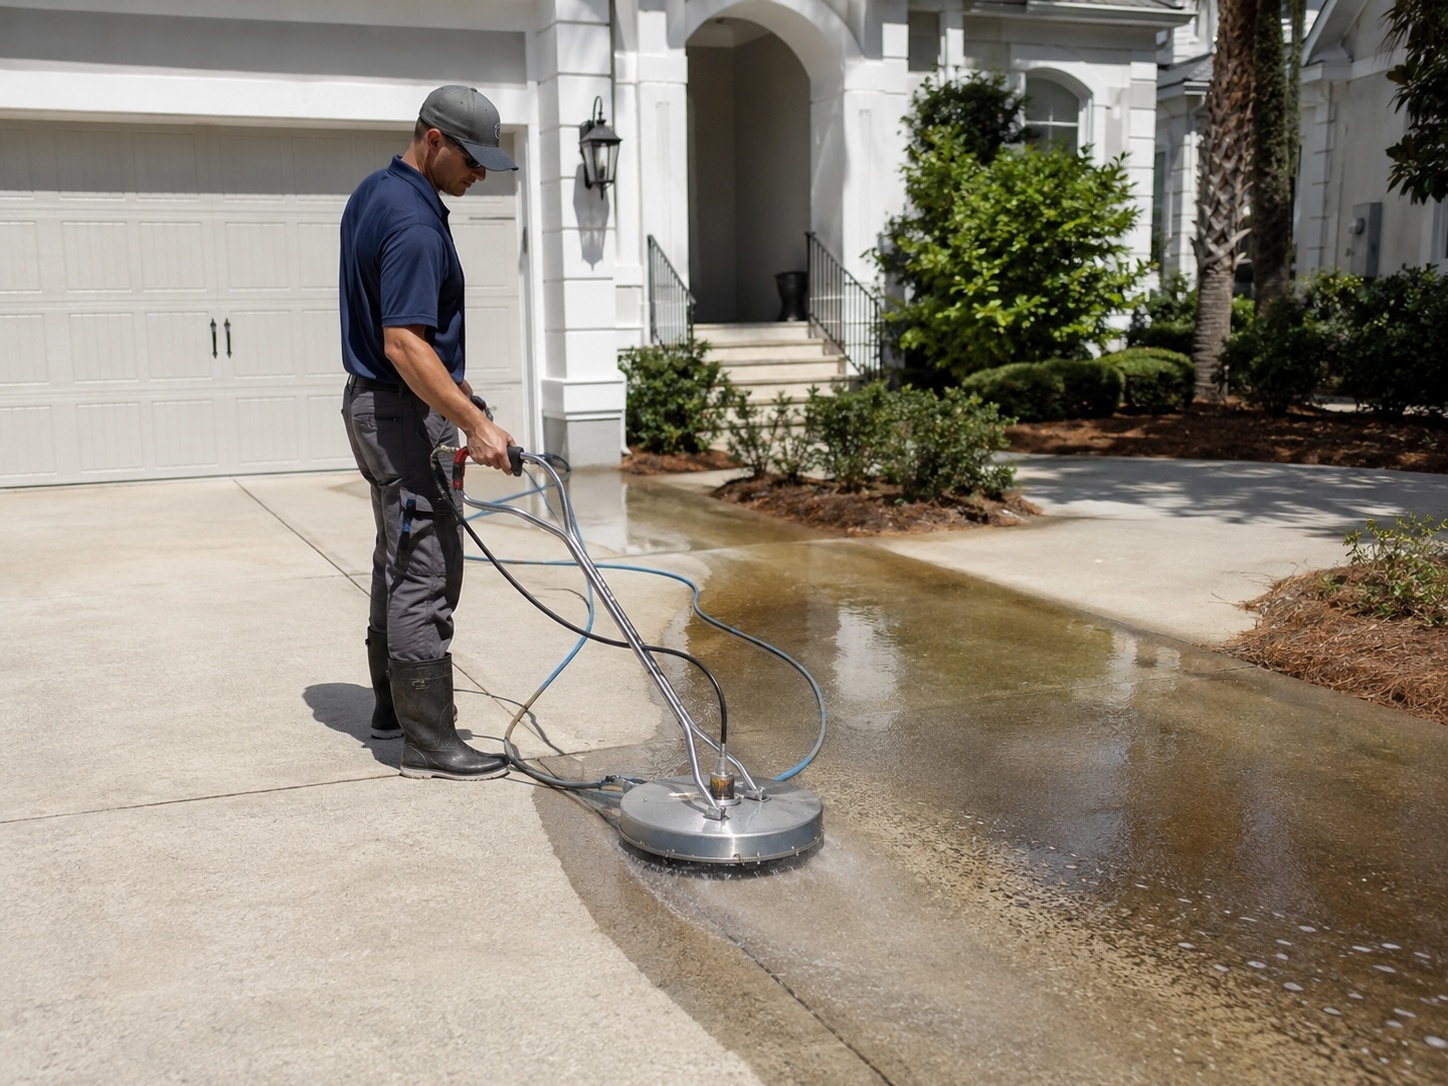
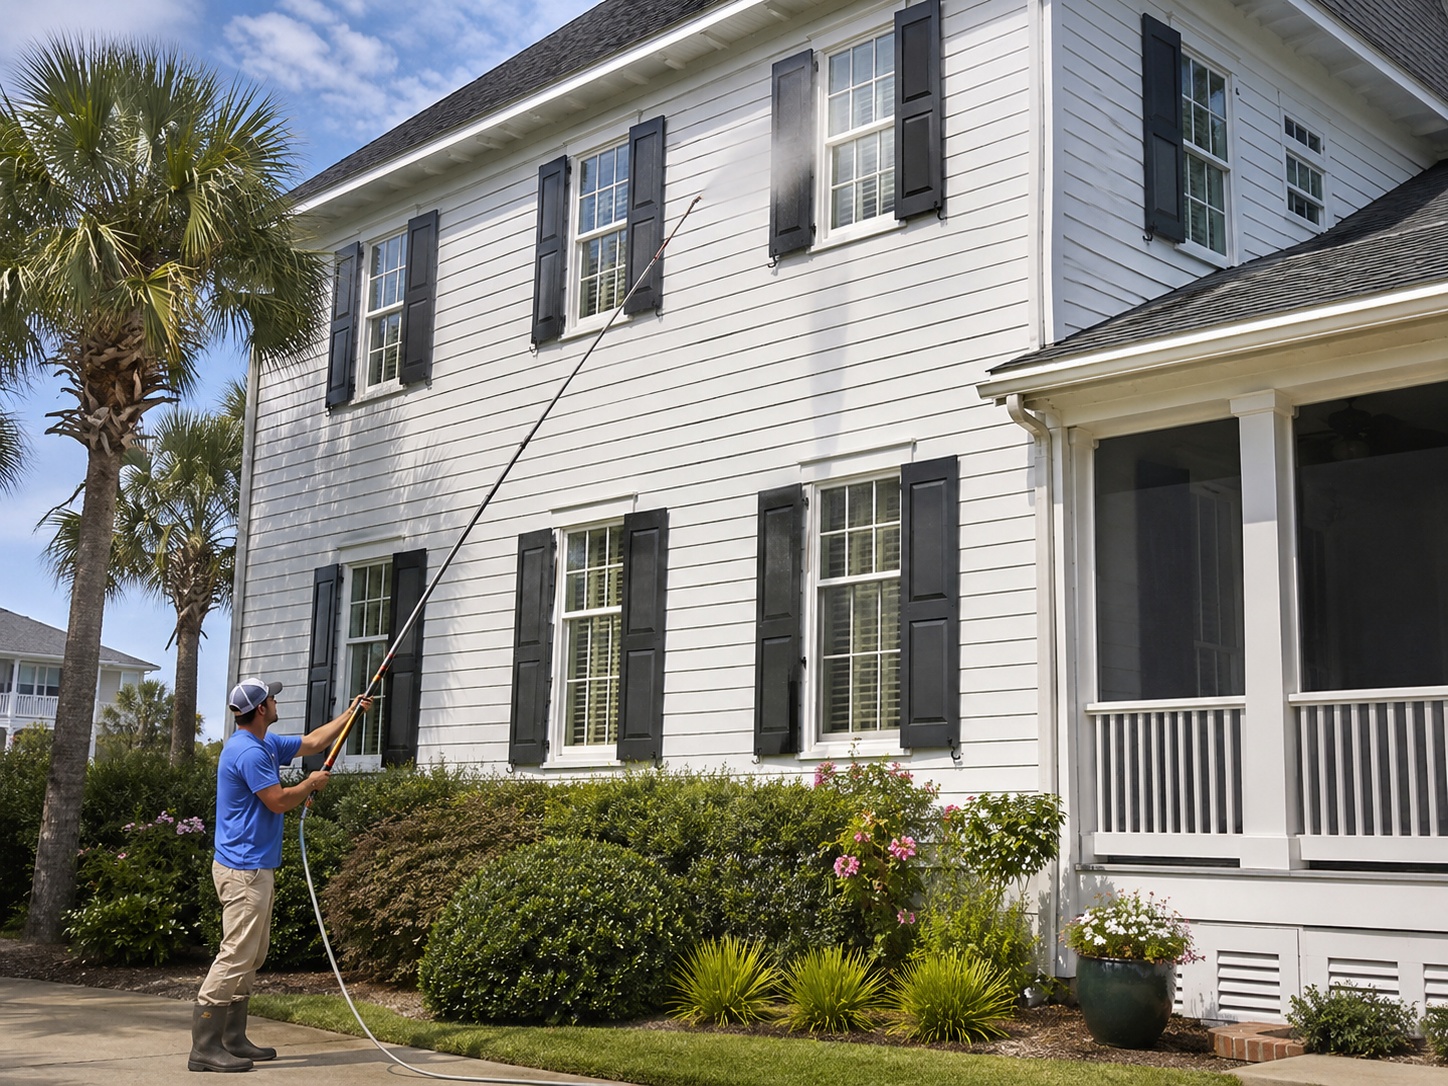
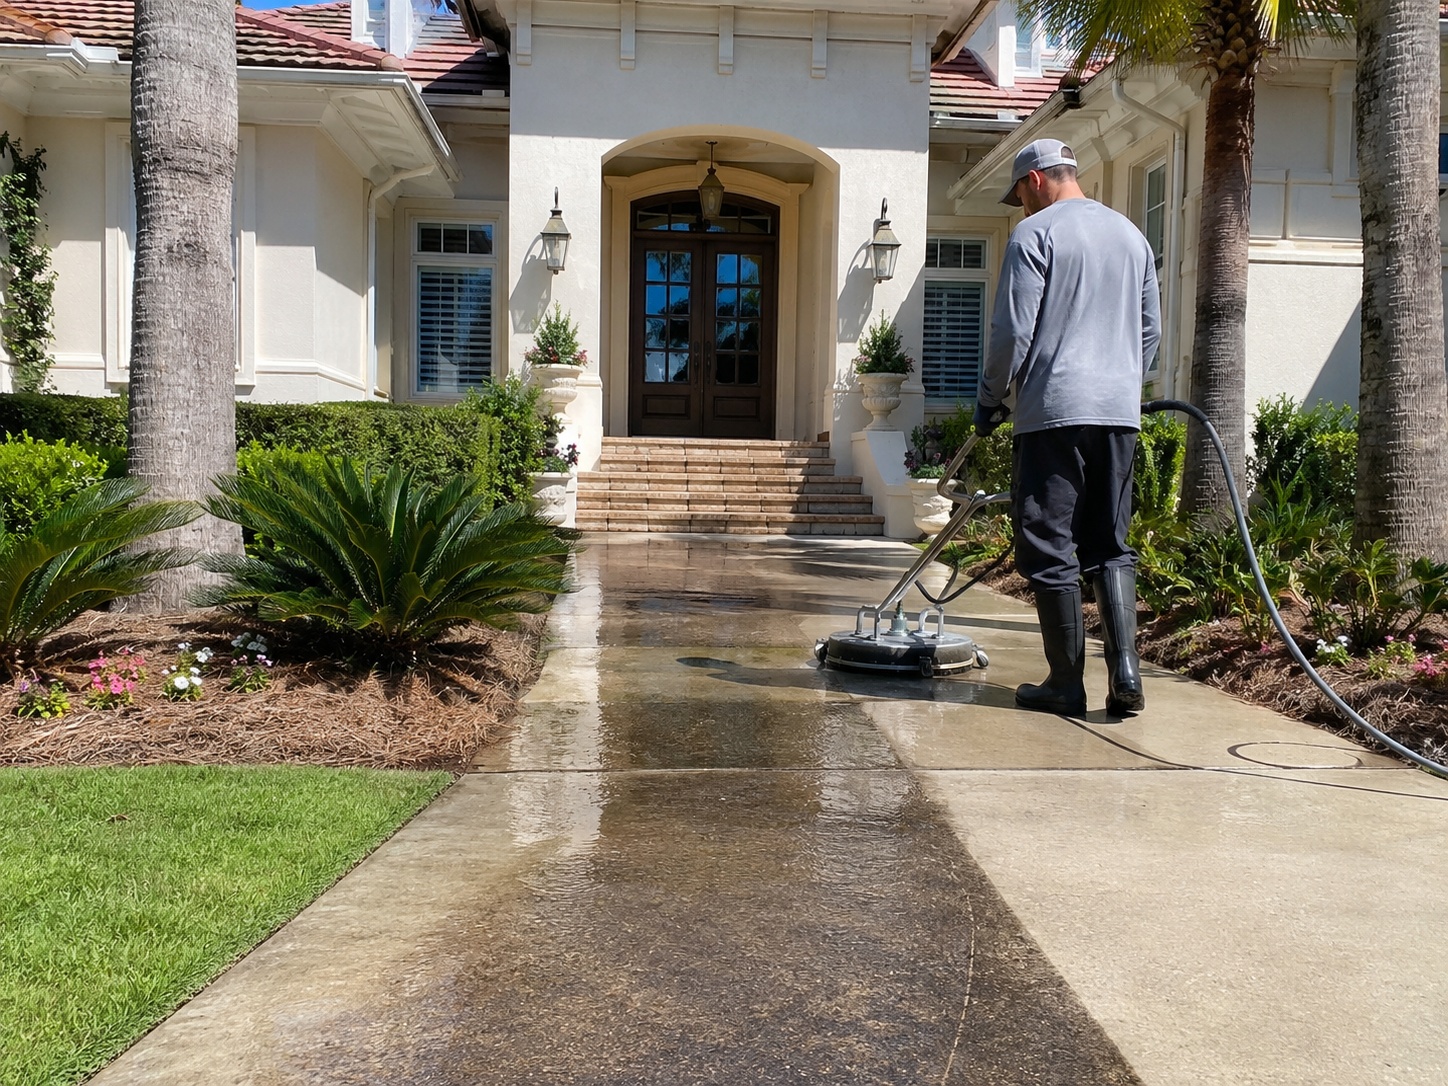
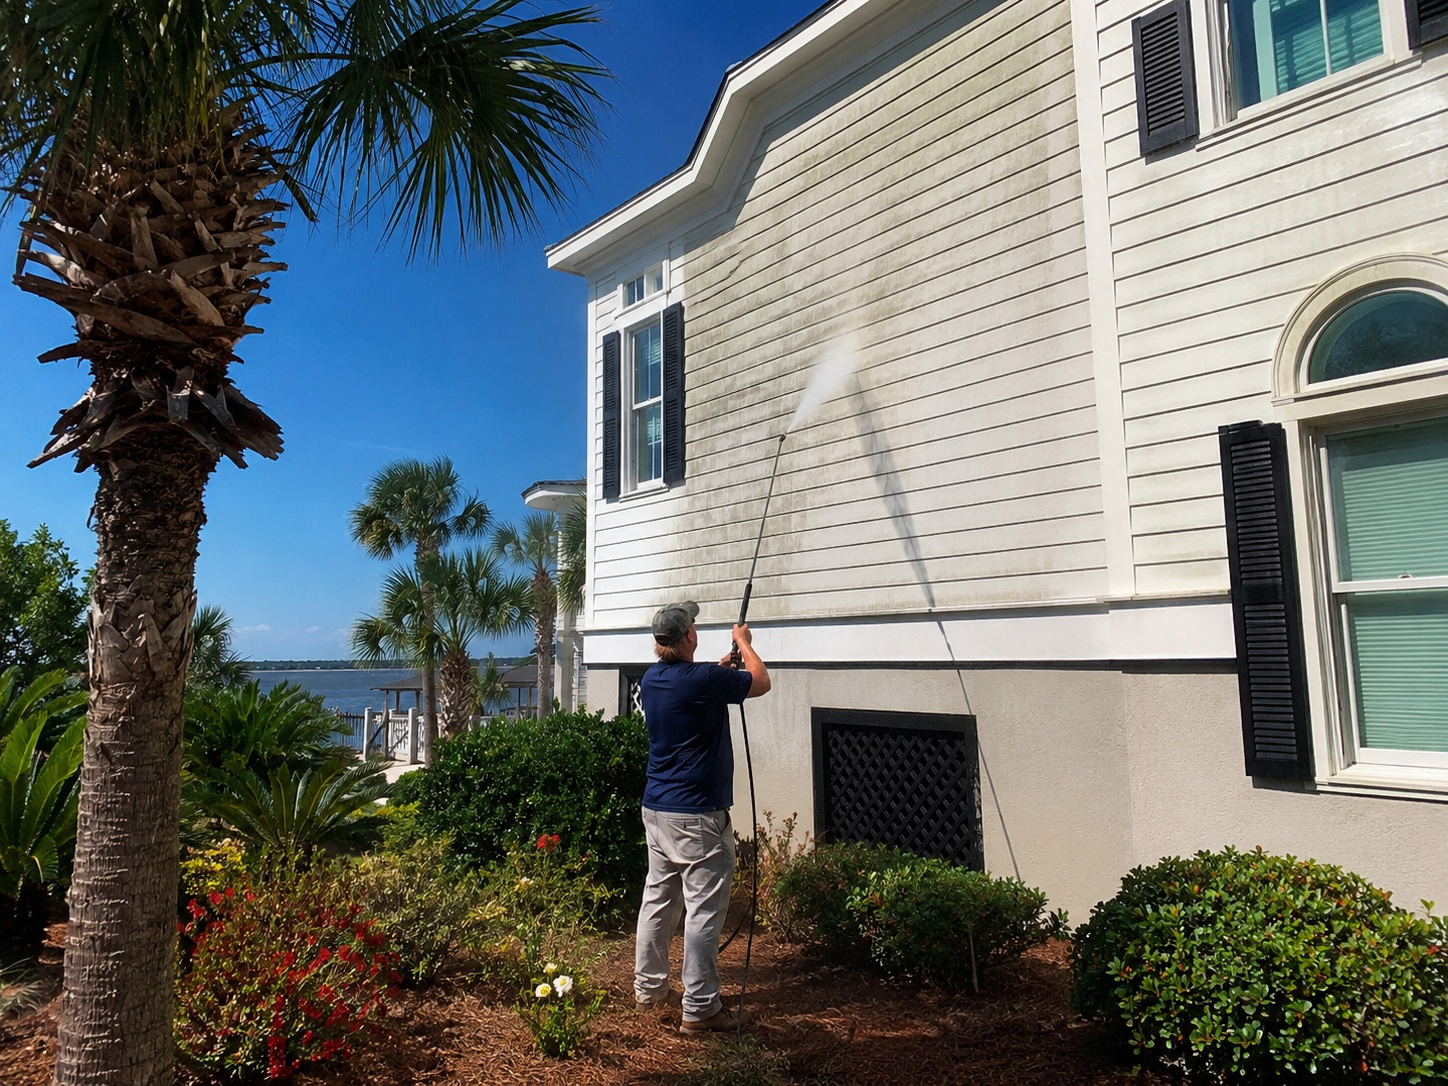
Before pressure washing your house, walk the exterior and note any loose siding, cracked trim, or failing caulk so it can be flagged before — not after — cleaning. Close and, if needed, tape windows and doors, move or cover outdoor furniture and decorations, soak or cover nearby plants, park vehicles away from the work area, and keep pets and children clear of the space. Give a wide berth to electrical outlets, fixtures, and any wall openings. A little preparation the day before makes the whole job faster, safer, and far less likely to turn up a surprise.
Pressure washing looks simple from the outside — point, spray, done. In practice, a home exterior has a lot of vulnerable spots: window seals, electrical fixtures, loose trim, garden beds, and anything sitting within range of the spray pattern. Most of the “pressure washing damaged my house” stories homeowners hear about didn’t come from the washing itself — they came from something that should have been moved, covered, or repaired first. This guide walks through exactly what to check and prepare before the work starts, whether you’re hiring it out or handling a light job yourself.

Before any water touches the house, it’s worth spending ten minutes walking the perimeter with a critical eye. The goal is to catch problems now that would otherwise get blamed on the washing later — and to flag anything that genuinely needs repair first rather than after.
Anything found during this walk-through that looks like it needs an actual repair — a cracked board, a gapped seam, deteriorating caulk — is worth fixing (or at least flagging to whoever is doing the wash) beforehand. Pressure washing over a problem area tends to make it more obvious, not less.
Close every window and door tightly before washing begins, and check that none of them have obvious gaps or worn weatherstripping. Water under pressure can work its way through small gaps around frames, especially on older windows. If a window is known to leak or has a history of moisture problems, it’s worth taping the seams with painter’s tape and plastic sheeting for extra protection during the wash — the same basic idea recommended by insurers like Nationwide for leak-prone openings. Screens should be removed if they’re loose or damaged, since a direct spray can bend the frame or tear the mesh.
Move patio furniture, planters, doormats, string lights, wind chimes, and any freestanding decorations away from the house — at least far enough that overspray and runoff won’t reach them. Cushions and fabric should be brought inside or covered, since they can hold water and mildew if left damp. Anything that can’t be moved (a built-in bench, a mounted mailbox) should be covered with plastic sheeting or a tarp rather than left exposed.
Cleaning solutions used in pressure washing (and soft washing in particular) aren’t always plant-friendly, so landscaping near the house needs its own preparation step. Soak garden beds, shrubs, and grass near the foundation thoroughly with plain water before the wash — a wet plant absorbs less of the cleaning solution than a dry one. Covering delicate plants with plastic sheeting for the duration of the wash is an extra layer of protection, and a follow-up rinse with clean water afterward helps flush away any residue that did reach the soil or foliage. If you have particularly sensitive plantings, it’s worth mentioning them ahead of time so the crew can rinse those areas more thoroughly.

Move cars, trailers, boats, and any other vehicles well clear of the driveway or the side of the house being washed. Overspray can carry cleaning solution and grime further than expected, especially on windy days, and it’s not worth the risk to a paint job or a windshield. The same goes for bikes, grills, toys, or anything else left in the yard near the work area — a five-minute walk-through to relocate loose items saves any after-the-fact cleanup.
Electrical safety deserves its own dedicated attention, not just a passing mention. Cover exterior outlets, light fixtures, and any wall-mounted electrical boxes before washing, and keep the spray wand a safe distance — insurers generally recommend at least 6 feet — away from any visible wiring. This isn’t a theoretical concern: the U.S. Consumer Product Safety Commission has recalled multiple pressure washer models over the years specifically for lacking proper GFCI (ground-fault circuit interrupter) protection, and the agency’s long-standing pressure washer safety warning traces back to fatalities linked to electrical shock from wet power-cord connections. AC units and any exterior electrical equipment should be covered or have power shut off at the breaker if they’re in the direct line of the spray.
Keep pets and kids inside, or at least well away from the immediate work area, for the entire duration of the wash. A pressurized spray wand can cause real injury at close range, cleaning solutions aren’t meant for skin or paws, and a running pressure washer with hoses and cords across the yard is its own tripping hazard. It’s an easy step to overlook in the moment but one of the simplest to plan for ahead of time — just treat the work zone like an active job site until it’s finished and rinsed.
This is worth calling out separately from the general inspection above, because it’s the single most common source of “the pressure washing caused this” complaints that actually predate the wash. Walk the siding looking specifically for gaps between panels, corners that have pulled away from the wall, cracked or split trim boards, and caulking that’s shrunk, cracked, or pulled loose from the surface it’s sealing. Vinyl siding manufacturers are consistent on one point in particular: never spray upward underneath panels, since that’s the angle most likely to drive water behind the siding regardless of how careful the rest of the technique is. Keep the wand pointed level or downward, and give extra clearance to any seam or opening rather than working directly at it.
| Area | What to Do | Why It Matters |
|---|---|---|
| Windows & doors | Close fully; tape leak-prone seams with plastic sheeting | Prevents pressurized water from finding its way through frame gaps |
| Furniture & decorations | Move away from the house or cover with a tarp | Avoids overspray, cleaning-solution residue, and water damage |
| Plants & landscaping | Soak with plain water beforehand; cover sensitive plants; rinse after | Reduces how much cleaning solution nearby plants absorb |
| Vehicles | Park well clear of the driveway or work zone | Protects paint and glass from overspray and drifting solution |
| Electrical outlets & fixtures | Cover boxes; keep wand 6+ feet from visible wiring | Reduces shock risk — a documented hazard tied to wet electrical connections |
| Pets & children | Keep indoors or well away from the work area | Avoids injury from spray pressure, chemicals, hoses, and cords |
If you’re hiring the work out rather than doing it yourself, a short conversation beforehand can save a lot of guesswork. As home-improvement resource Bob Vila advises, it’s worth asking about insurance coverage, how technicians are trained, what PSI level and chemicals will be used for your specific siding type, how windows and vents will be handled, and — importantly — what happens if something is damaged during the job. A contractor who can answer these clearly, without hedging, is generally a good sign that preparation and technique have already been thought through.
Once the wash is finished, give the exterior time to dry before scheduling any follow-up work like painting or caulking — typically 24 to 72 hours, longer in shaded or humid spots that don’t get direct sun or airflow. It’s also worth setting expectations that a wash removes visible surface mold and mildew but not the spores themselves, so some regrowth over time is normal rather than a sign the job was done poorly. A quick walk-through after everything dries — checking windows for any moisture that got in, and giving landscaping a final rinse — closes the loop on the preparation you did beforehand.
Not every home needs a professional for this. But a few factors tend to tip the decision that way:
If two or more of these apply, it’s generally worth getting an experienced set of eyes on the job rather than working through it alone.
If you’re in the Charleston area, our Pressure Washing in Charleston, SC page covers how we approach preparation and technique on real homes. Have questions about your specific siding or a repair you spotted during your walk-through? Request a quote and send along a few photos — no phone call required.
A day ahead is generally enough — soak plants, move furniture and vehicles, and do your exterior walk-through the day before the scheduled wash so nothing is rushed the morning of.
It depends on your preference and the scope of the job, but someone should be reachable in case a repair issue turns up during the inspection or wash that needs a decision.
It can if a window has worn seals or gaps around the frame. Closing windows tightly and taping any known leak points beforehand significantly lowers that risk.
Covering outlets and keeping the wand well clear of visible wiring is the main precaution; if you have exposed or older wiring near the work area, shutting off that circuit at the breaker adds an extra layer of safety.
Soak them thoroughly with plain water beforehand, cover anything especially delicate, and plan to rinse them again once the wash is finished.
Reaching upper stories generally means ladder work, and falls are a leading cause of injury in exterior cleaning jobs. For anything beyond ground level, bringing in an experienced professional is the safer route.
Most surfaces need roughly 24 to 72 hours to dry fully before follow-up work, with shaded or humid areas sometimes needing longer.